|
Parts needed:
- Wire to connect the baseboards electrically. You should
use wire that will have the capacity to conduct the maximum amount of power you
plan to use on your layout. If the wires you plan to connect are part of a
power bus they should be capable of conducting as much as 20 volts, and 10
amps, with minimal voltage drop. The bigger the layout, the longer the wiring
system, and the more the voltage will drop. This needs to be taken into
consideration when choosing the right wire for your connection. It is always a
good idea to use a color code when doing wiring on your layout. If you are
wiring a main power bus, you might want to use Red and Black colored wire. What
ever colors you choose, you should be consistent with the wires you use to help
you troubleshoot electrical problems later. In this tutorial, one wire is gray
with a black stripe on it, and the other wire is plain grey.
- A set of pliers – needle nose, long nose, or stub nose
pliers will do - or a Wire Cutting and Crimping tool.
- A car electrical connector kit, such as the one pictured
below.
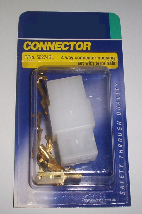 |
These electrical connector kits are available at many auto parts
stores, and include a pair of plastic interfacing clip together
connectors.
The wires are connected to the gold colored metal contacts,
which are then inserted into the interfacing connectors. Once the
gold colored metal contacts are inserted into the plastic
interfacing connectors, they won't come out.
Then, when the interfacing connectors are joined together, they
connect the metal contacts inside them together and connect the
power to the next baseboard.
|
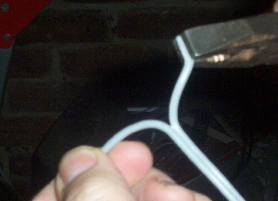
Step 1: Separate the ends of the wire that will have the metal stub
contacts added
|
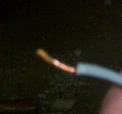
Step 2: Remove a short section of the insulation from
each wire end
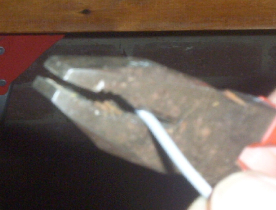
Once finished, the wire ends should look similar to those in the
photo to the right.
Step 3: Connect the metal contacts to the wire
ends
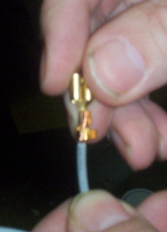
With the type of electrical connector kit used for this
tutorial, there are 2 different types of metal contacts. Use the
same type on one set of wires, and the other type on the other set
of wires. Now it's time to attach the metal contacts to the ends of
the wire. Use your pliers or wire crimping tool to crimp the
contact tabs over the wire to hold it in place.
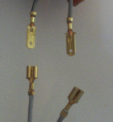
Once you have done one set of wires, do the other set, the end
result should like something like the photo below.
Step 4: Insert wire with metal contacts into plastic
interface connectors
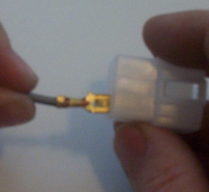
Take one of the interface connectors and insert the wires into
it, making special note of which compartment of the interface
connector each color wire went into. Then take the other interface
connector and insert the other wires into it, making sure the
compartments the wire colors are inserted into correspond to the
wires of the same color in the other interface connector. You can
then connect the two interface connectors to each other, and you
should plainly see how the wire colors continue through the
interface connectors from one side to the other.
|
If you are using paired electrical cable (2 separate wires
separated by insulation), instead of single strand wire, you will
need to separate the two wires for a short way from the end to
allow you to put the metal contacts on the end of the wire. To do
this you can use pliers as shown, or you may be able to use your
fingers to pry the two wires apart. Do this carefully, as you don't
want the insulation to come away from either wire.
To remove the wire with a pair of pliers, use the cutting tool
on the pliers to grasp the wire insulation gently, and then gently
twist the pliers around the insulation of the wire, and pull the
pliers towards the end of the wire. Be patient, as this can be hard
to do if you have never done it before. You may even want to
practice on a scrap piece of wire until you have mastered it before
trying it on the wire you want to use for the actual connecting of
the baseboards.
|
Step 5: Wire the ends into the existing layout
Turn your controller system off, and connect the 2 wires to be connected either
to the power bus of the already powered sections of the layout, or directly to the
controller. You might want to wait until after the testing step before soldering
the wires. But attach them well by twisting the wires to the wires or controller
terminal they should be connected to.
Step 6: Add connectors to the track, and testing the
installation
Then connect the other wire ends to the track, or accessories to be powered on
the new section of layout to be powered. Once you have done this, you should test
that the two baseboards are wired to each other correctly by running a loco over
the baseboard join. If you are using DCC, you might want to temporarily use a DC
controller to test the join, with a DC loco, as a short between the two boards you
have wired might cause the decoder to fail. If it stops at the join, you either
have a loose wire in the interface connector, or the polarity is wrong – a crossed
wire. If this is the case, you may have to go back and check each step that you
have completed it correctly, and that the wires are still properly connected to the
metal contacts, and that you have not wired the interface connecters in such a way
that is creating a short circuit.
|


|

